Free Ground Shipping on Orders Over $49 Details & Exclusions Excludes Curb Side Delivery (LTL). Lower 48 United States Only. • NEW! Shop The Summer Lookbook
Oct 11, 2014
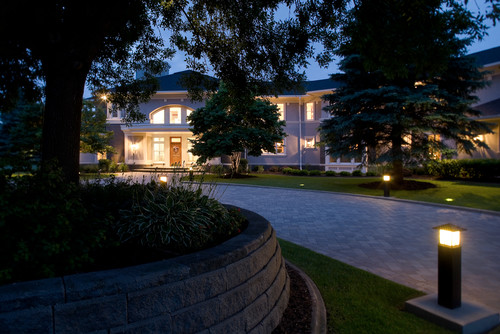
Things You Should Know About Outdoor Bollard Light Installation
Bollard lighting installation should be performed by a trained electrician but it is best to have a good understanding of the installation process so that you are able to make an educated decision before you start purchasing bollard lights.
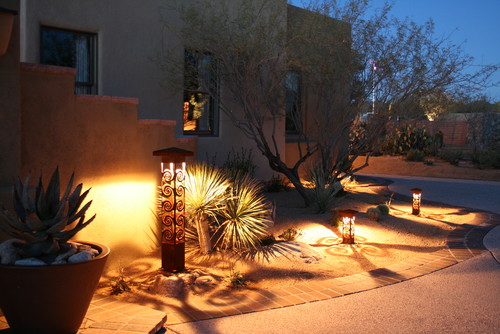
Outdoor bollard lights are the perfect lighting fixtures to illuminate and add a visually beautiful effect your home’s exterior. By carefully planning and installing bollard lights in the appropriate areas, you can show off your beautiful garden and bring your home to life at night.
Bollards do not only provide illumination, they also mark and provide discreet demarcation between areas of your home’s exterior space. They offer the installation advantages of ground level lighting while providing illumination at an optimal height. Overhead lighting is a bit expensive to install and maintain, and low level lighting cannot provide visibility where it is most needed. Outdoor bollard lights are the best solution to this dilemma, providing illumination where it is needed while at the same time keeping operational and maintenance costs to a minimum.
Generally, bollard lights come in two sizes – small and large. Small sized bollard lights range from 40 to 60 centimeters in height while the large ones are 100 to 120 centimeters in height. Having two sizes available allows for two different levels of lighting throughout an area and maintain design consistency using one style of bollard. Such is the case for homes that require small bollard lights to illuminate certain areas such as garden paths and large bollard lights for other areas such as the driveway.
When having bollard lights installed, the first thing you need to consider is your location. The area where you plan to have your bollards installed should allow you to bury electric wires that will power the bollard lights.
The mounting bracket that will connect to the base of the bollard should be cast in concrete. To do this, dig a hole that is deep enough to allow the bollard to be level with the ground. Insert a sonotube then fill up with concrete. Run PVC or conduit pipe into the center of the sonotube for the electrical wires. Make sure that there is enough slack to connect the wire to the ballast or socket at the top of the bollard light.
Place the mounting bracket in the center after the concrete has been poured. Make sure that it is level. Wait for it to dry. The bolts of the mounting bracket will connect to the bottom disc or mounting plate of the bollard. The bollard’s housing unit will then slide onto the mounting plate and can be secured into place with screws. Use electrical wire to power the ballast or socket. Your bollard light is now ready for use.
The placement or spacing of bollard lights will depend on the site requirements, bollard optics, ambient light levels, and your preferences. Site requirements for lighting vary based on where the light bollards are going to be used. The bollard optics available can affect the spacing of your bollards. Achieving the required light levels may also dictate the use of a specific optic with specific spacing. There are also other luminaires that increase the light level which may cause you to require more or less bollard lighting to attain the desired look and light level in your home exterior.