Free Ground Shipping on Orders Over $49 Details & Exclusions Excludes Curb Side Delivery (LTL). Lower 48 United States Only. • Shop The Latest Lookbook
May 11, 2014
Step-By-Step Guide in Installing an Outdoor Post Lamp
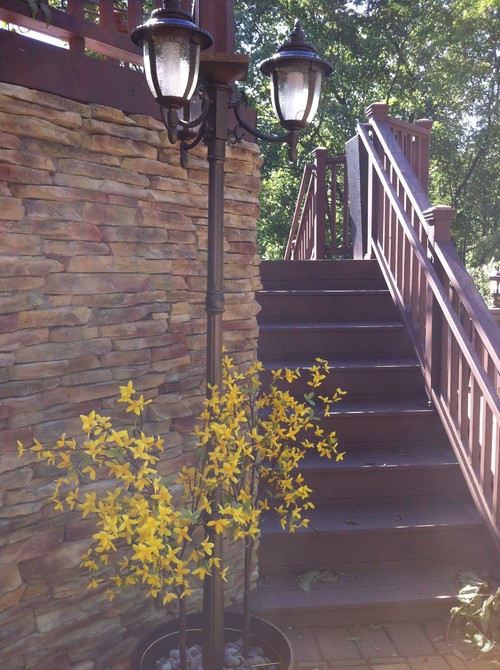
Installing an outdoor post lamp is actually simpler than you might think. Although you will need to hire a licensed electrician for hooking up the wiring to the main box and adding a switch, installing the post and running the wire can be done by you. Here are the steps:
Step #1: Dig the posthole and trench
With a posthole digger or round shovel, dig a hole at the location of the post about 12 inches in diameter and 22 inches deep. Fill in the bottom of the posthole with 6 inches of gravel. Next, create a narrow, 18-inch-deep trench using a trenching spade. Add in the soil on top of a plastic tarp.
Step #2: Install the PVC conduit
Dry fit PVC conduit to extend from the house up to the posthole. If needed, cut the pieces with a hacksaw. Connect elbows to lead the conduit away from the house and down into the trench then up at the post. Add a conduit to the elbow in the posthole, making sure it is long enough to project 6 inches above the ground. Connect the conduit pieces together using PVC cement. All the elbows should be oriented correctly. Thread a 12-gauge UF-rated wire through the pipe. There should be extra wiring about 9 feet long at the post location plus a few more at the house to extend through the walls and to the breaker box. Lay the pipe containing the wiring inside the trench then backfill with soil.
Step #3: Fill the posthole with concrete
Mix a batch of concrete in a trough or wheelbarrow. Maintain a firm mix and avoid adding too much water to shorten the set time. Shovel the concrete into the posthole over the gravel. Be careful not to get any into the conduit or on the wires. Fill the posthole to grade or just below it. Leave approximately 6 inches of conduit exposed. Smooth the top of the footing with a concrete float or a piece of scrap wood.
Step #4: Set the post into the concrete footing
Lay the post quickly but carefully next to the hole. Pull the wires through the post from the bottom all the way to the top. While the concrete is still wet, slide the shaft of the post over the conduit and 12 inches into the concrete. Make sure that the wires still protrude from the top of the post. Twist the post while putting downward pressure on it to work it into the concrete.
Step #5: Install the lamppost
Brace the post by wrapping two or three straps or ropes around the post and staking them into the ground a few feet away. Hold a level against the post vertically in different spots around its circumference to check it for plumb.
Step #6: Brace the lamppost perfectly plumb
Adjust the straps that are attached to the lamppost to firmly hold the post in position. Allow the concrete to dry and harden completely about 4 hours before you remove the straps.
Step #7: Make the wire connections
Carefully peel away 3 inches of the gray insulation from the UF cable projecting from the post with a utility knife to expose the three wires inside it – white, black, and a bare copper (or green) ground. These match to like-colored wires on the lantern. With a wire stripper, expose half an inch of bare copper on all the colored wires from the post and the lantern. Match the wires from the lantern to those from the post – white to white, black to black, and bare copper to bare copper (or green). Twist on wire nuts to secure the pairs together. Slide the lantern onto the post and fasten its set screws to secure it. Get the help of a licensed electrician to connect the wires to the breaker box and install a switch in a convenient location. Test the post lamp by switching it on.