Free Ground Shipping on Orders Over $49 Details & Exclusions Excludes Curb Side Delivery (LTL). Lower 48 United States Only. • NEW! Shop The Summer Lookbook
Sep 13, 2014
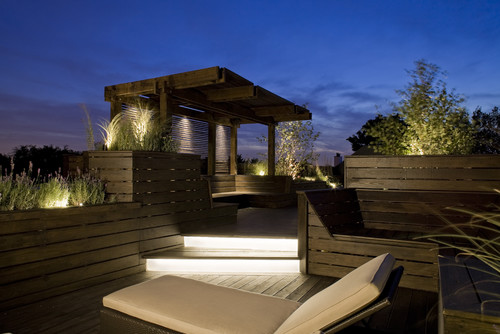
Yes, You Can Install LED Landscape Lighting Yourself in Just 5 Steps

Installing LED landscape lighting is actually quite easy and does not require the help of a professional electrician. All you need is some patience and the necessary tools and you can complete this project all by yourself. Here are the five steps to installing LED landscape lighting:
Step #1: Plan the layout for your lighting
The first thing you will need to do is look around your yard and determine where you would like your outdoor lighting to be placed. Mark off the spots where each LED light should be. To ensure that the lighting is consistent, use a tape measure for evenly plotting the position for each light. The first light should be at least ten feet away from the transformer. An average walkway should have a light every six feet following this.
Step #2: Place the electrical cables
Place the electrical cable along the stretch where the LED lights have been placed. You will need to make sure that the cable is laid all the way up to the point where it will attach to the transfer. During this step, just leave the cable lying loose on the ground. You will also need an extra lag in the cable to coil around the lights when you bury them.
Step #3: Dig the trench
Move the LED lights a little further back to give you enough room to dig a trench. With a flat blade shovel, fold back the lawn along the walkway about twelve inches wide and three inches deep so there is plenty of room for you to lay the cable wire down. You may also need some concrete blocks or anything that is heavy if you have sod to prevent this from flipping back into the trench while you work.
Step #4: Lay the wire
Lay the wire into the trench that you have just dug, leaving slack in the wire as you go along. Put the yard sod or soil back on top of the wire. Leave a small section sticking out as this will be connected later on to the actual LED light. Make a small hole and pull the wire up through this.
Step #5: Wiring
For this step, you will need to refer to the manufacturer’s instructions for the appropriate wiring procedure. Once all of the fixtures are wired, you can proceed to stake the lights into the ground. Check and make sure that all of the connectors are at least two inches underground and that the stakes are even and flush. Place the transformer directly on your home or on a post near your home. Strip the cables that are closest to the transformer then insert the wires into the terminals inside the transformer. Usually, lighting kits have everything color coded so it will be easy for you to know what needs to go where. And that’s it! You can now turn your LED landscape lights on and test the system.