Free Ground Shipping on Orders Over $49 Details & Exclusions Excludes Curb Side Delivery (LTL). Lower 48 United States Only. • NEW! Shop The Summer Lookbook
Apr 23, 2019
How to Install Under-Cabinet Lighting
Do you have plans this weekend? Here’s an idea: Add under-cabinet lighting to a room in your house. You’ll instantly love the drama and personality this lighting brings. Though small in stature, under-cabinet lights make a big impact on your interior design. The best part is you can tackle this home project all on your own – with the right tools, of course. Here, we outline exactly how to install under-cabinet lighting without wasting time or creating unnecessary holes.
Before you go straight to installation, take a minute to review the nuances of under-cabinet lighting. This guide will help you make the right choice for your home.
What is Under-Cabinet Lighting?
This type of lighting refers to fixtures that are affixed below a cabinet. Think of under-cabinet lighting like the recessed lights in your ceiling. They are meant to be neatly tucked away, so as not to interrupt sight lines or overpower any element of your home décor. In fact, under-cabinet lights do quite the opposite; they enhance your home’s best features. And, like other types of light fixtures, these little gems have a variety of functions.
Types of Under-Cabinet Lights
Light Bars
These are linear lamps that cast light across the length of the bar, creating a nice, even illumination. The original light bars used fluorescent bulbs and some still do. But you can also find energy-efficient LED light bars.
Lighting Strips
These are also linear lamps, though lighting strips tend to be more flexible in nature than those rigid light bars. They also tend to be the more cost-effective option when you have a lot of cabinetry to light.
Tape Lights
Also called ribbon lights, these are a flexible circuit board that can literally be taped to surfaces. Tape lights are another form of linear lighting, but their flexibility allows them to be used in oddly shaped, or hard-to-reach areas.
Puck Lights
Puck lights look just like a hockey puck. They’re small, round fixtures that mount underneath your cabinets with screws or adhesives. Puck lights mostly utilize LED lights but can be found with halogen lights. Some LED puck lights can run on batteries, thus eliminating the need for complex installation, but they are not recommended. Hardwiring is the way to go for ease of maintenance and light output.
Integrated Lights
Integrated lighting is one of the latest under-cabinet iterations. Though the effect is smooth and seamless, integrated lighting requires professional installation. It is custom-fitted and built into the belly of your cabinets, which must be done when your cabinets are installed.
Functions
The unique thing about under-cabinet light fixtures is that they are multifunctional. They can serve as tasking lighting, accent lighting or ambient lighting, depending on the room and the space. The best under-cabinet lighting is the one that works with your home’s unique needs.
Where Can You Use Under-Cabinet Lighting?
Technically speaking, you can install under-cabinet lighting anywhere you have cabinets. Maybe you have a workshop in the basement or a craft room with only one window. This would be a perfect place for additional lighting. More common areas for under-cabinet lighting include:

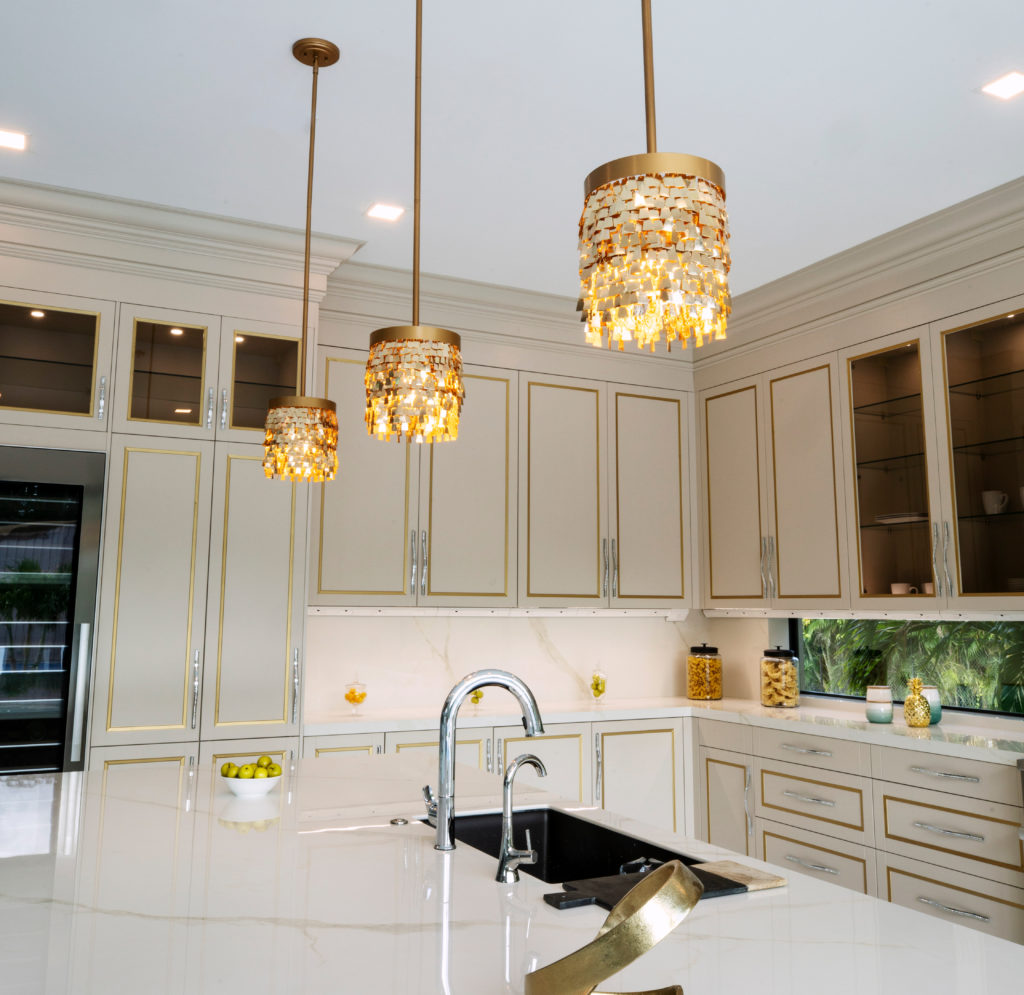
Try kitchen under-cabinet lighting to illuminate dark spots and make meal prepping a breeze.
Kitchen
Kitchen under-cabinet lighting is, by far, the most common choice. The kitchen is where homeowners first think to add this type of lighting, because it does a great job of illuminating the counters for cooking. Under-cabinet strips in the kitchen can also be used as accent lights that show off a beautiful tile backsplash and make the counter top shine.
Under-cabinet lighting can also be used underfoot. Here, it helps define a space within a room.
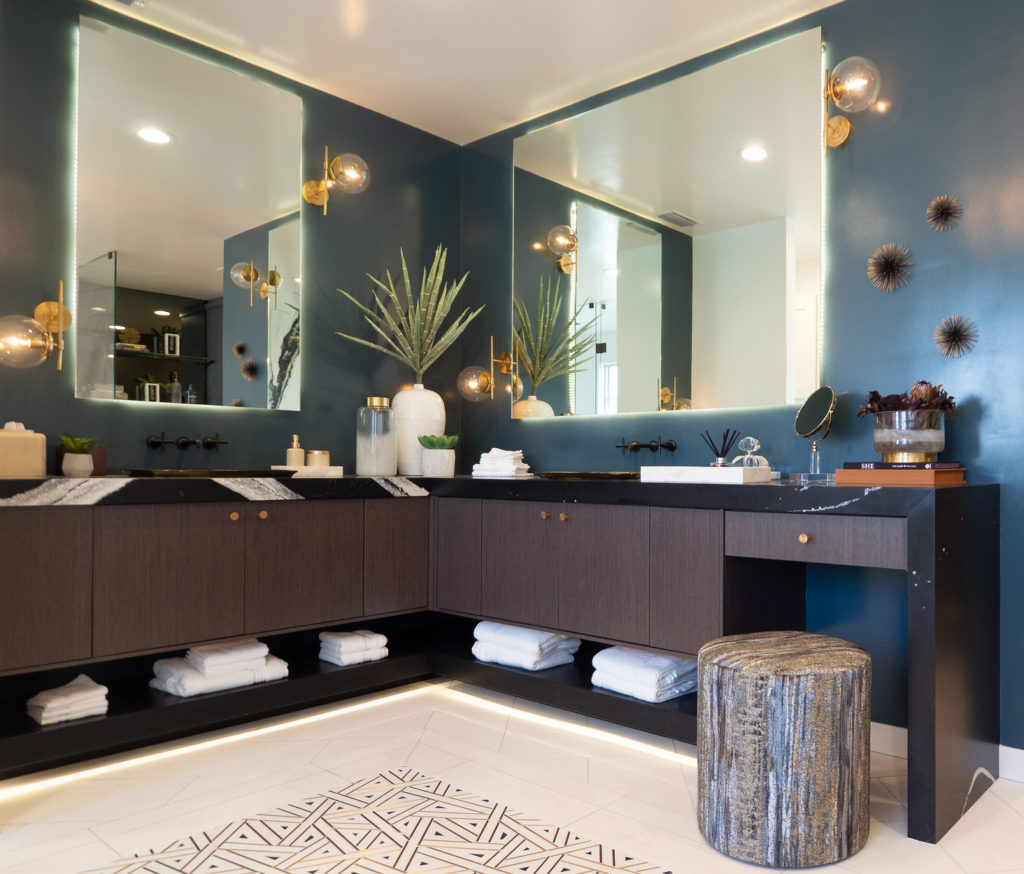
Bathroom
Bathrooms are, perhaps, the second most popular placement for under-cabinet lights. LED strips, in particular, are a common type of bathroom vanity
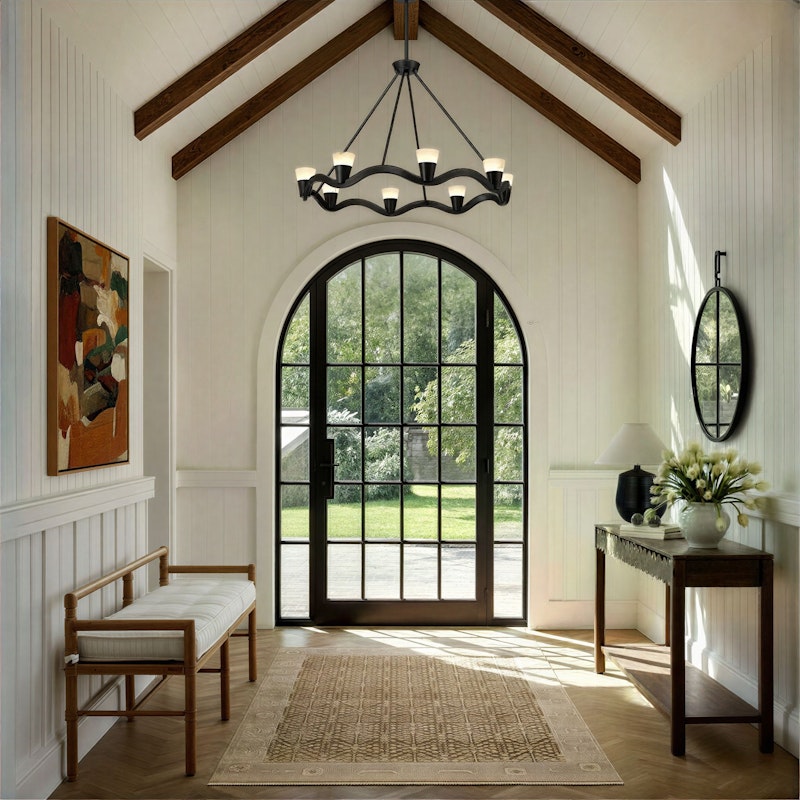
Living Room
In the living room, under-cabinet lights are primarily used as accent lighting. You’ll find them adding light to a built-in bookshelf that houses precious trinkets or prized pieces of art. Under-cabinet lights can also help draw attention to a dedicated corner. For instance, if you have a reading nook, wine fridge or coffee bar in your living space, add a few hidden fixtures to the area. The warm light will feel like an invitation to sit down and have a drink.

Elevate a clean-and-simple walk-in closet with luxurious under-cabinet lighting.
Walk-In Closet
Walk-in closets are already a luxurious amenity, but under-cabinet lighting takes this room to the next level. In a closet, under-cabinet lights are usually placed just above the floor for an elevated visual effect. But you can also install them with your custom closet system, where they illuminate the shelving – and prevent any color-coordination mishaps.
Laundry Room/Mud Room
A lot of laundry rooms don’t have an outside window that provides natural light. Adding under-cabinet fixtures helps fill the void and brighten an otherwise boring room. They also work wonders as task lighting, so you can easily spot stains and iron out wrinkles. In the laundry room, under-cabinet lights are usually reserved for just that – under the cabinets.
Office
Under-cabinet lights can turn a dark-and-dreary office into an inspiring workspace. You just have to decide where you want these fixtures most. A home office offers several different options for under-cabinet lighting. You can install a few puck lights under your floating shelves, opt for LED strips under your overhead cabinets or add light bars to your wall of built-ins.
How to Install Under-Cabinet Lighting:
Now that you’re sufficiently versed in under-cabinet lighting, are you ready to get to work? The following are step-by-step instructions on how to install under-cabinet lighting in your kitchen. If you’re upgrading another room, these steps may need to be tweaked to accommodate the different types of cabinets or shelving. Installing lighting is a tricky project, though. If you’re ever in doubt, call an electrician for help.
Expected time frame: 2 – 3 days
Materials:
- Metal flex cable
- Plastic-sheathed cable
- Cable clamps
- Flex connectors
- Old-work junction box
- Undercabinet lights
Tools:
- Hacksaw
- Jigsaw
- Cordless drill
- Voltage tester
- Wire cutter
- Fish tape
Step-by-step instructions:
1. Shut off the power .
Locate your main electrical panel and turn off the circuit breaker for the room.
Tip: You can ensure the power is off by plugging in a radio to a nearby outlet and listening for silence when you switch the radio on and off.
2. Calculate the wattage.
With the breaker off, it’s a good time to assess how much wattage you’ll be adding to the circuit with your under-cabinet lights. You can do this by going around the house and adding up the watts for everything that does not turn on (this is everything powered by the breaker you turned off). Total watts should not exceed 1,440 for a 15-amp circuit or 1,920 watts for a 20-amp circuit.
3. Check the electrical box.
Confirm that the electrical box you’re tying into is large enough to accommodate the wires you’ll be adding. Also, use a voltage tester to make sure the wires are dead before you start working.
4. Open the wall.
You’re going to work inside the lower cabinets of your kitchen, so you have enough room to run your cables. Using a jigsaw, cut a hole in the back wall of your cabinet, giving you clear access to the electrical box. A 12-inch square should be plenty big enough.
5.Install a junction box.
Attach flex connectors to a junction box, aligning them so the screws point out. Use one flex connector for each run of flex cable you need. Now, screw the box into the wall, just below the level of your kitchen drawers.
6. Drill holes.
Determine how many light bars or groups of lights you’ll need. Drill ½-inch holes under the cabinets, where you’ll connect to each light fixture. Also, drill 1-1/8-inch holes in the sides of your cabinets to run metal flex cable from the flex connectors to the light fixtures and from the flex connectors to the switch.
Note: Use the hacksaw to cut the appropriate length of metal flex cable.
7. Run the wires.
Using fish tape, pull plastic-sheathed cables through the metal flex from the junction box to the various endpoints: the electrical box, the switch and to the light fixtures themselves.
8. Connect the wires.
Once you’ve threaded the plastic-sheath cables all the way through the wall to your lights, connect the wires according to the manufacturer’s directions. Use cable clamps to screw the wires flush against the underbelly of the cabinets.
9. Prepare a switch.
Measure and mark the spot for your light switch on your kitchen wall or backsplash. Using a drill, cut the hole for your switch box. Thread the switch cables up and through the switch box. Screw the box into the wall, and then connect the wires accordingly. If you’re installing a dimmer switch, connect the dimmer now, according to the manufacturer’s directions. Fold the wires into the box and cover with a switch plate.
Note: You may need a glass bit to drill into tile backsplash.
10. Finish the job.
Cover the junction box with a metal cover plate and close up the access hole with a piece of plywood.
Go Overboard With Under-Cabinet Lighting
When you know how to install under-cabinet lighting, the possibilities just open up. With this new-found knowledge, you can elevate your master suite, add life to your home office or simply show off your beautiful collection of wedding china. Whatever your reason, you now have the power to take on this weekend project and enjoy the fruits of your labor.
*Disclaimer: Although we are lighting professionals, we are not licensed electricians and the recommendations in this blog are for illustrative purposes only. Please consult a licensed electrician when undertaking any electrically involved home project.