Free Ground Shipping on Orders Over $49 Details & Exclusions Excludes Curb Side Delivery (LTL). Lower 48 United States Only. • NEW! Shop The Fall Lookbook

May 28, 2026
Lighting for Vaulted Ceilings: Design & Installation Considerations
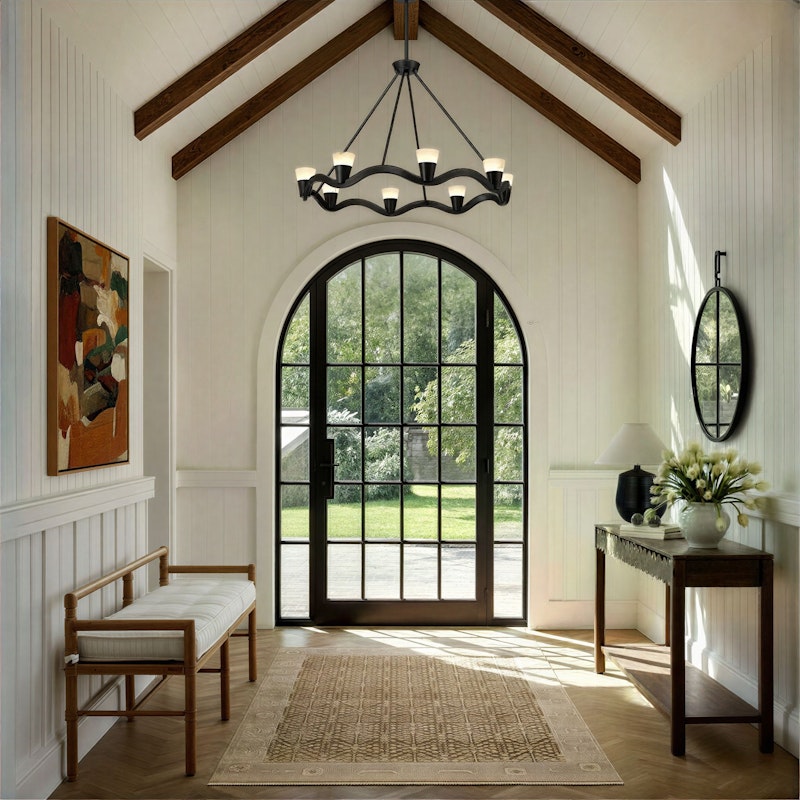
Vance 39 Inch Chandelier by Crystorama
Vaulted ceilings have a way of making a home feel instantly elevated—more air, more architecture, more “wow.” But that extra volume also changes the lighting rules. A fixture that looks perfect on an 8-foot ceiling can feel undersized in these large rooms or oddly placed once the ceiling starts to slope.
When planning lighting for vaulted ceilings, it’s essential to understand what works, why it works, and how to make it look intentional—never accidental.
What Makes Lighting Vaulted Ceilings Different?
Lighting for vaulted ceilings differs from standard lighting because it must accommodate extreme heights, increased volume, and sloped surfaces.
Some key differences include specialized fixtures, fixture scale and proportions, lighting direction, accentuation, and the combination of fixture types. For example, when working with vaulted ceilings, work to balance ambient light from a chandelier or pendant by adding dramatic, scaled-up fixtures to fill the space.
It’s important to consider these requirements to prevent the “cave effect” (dark, shadowy upper areas) and ensure even, safe light distribution.
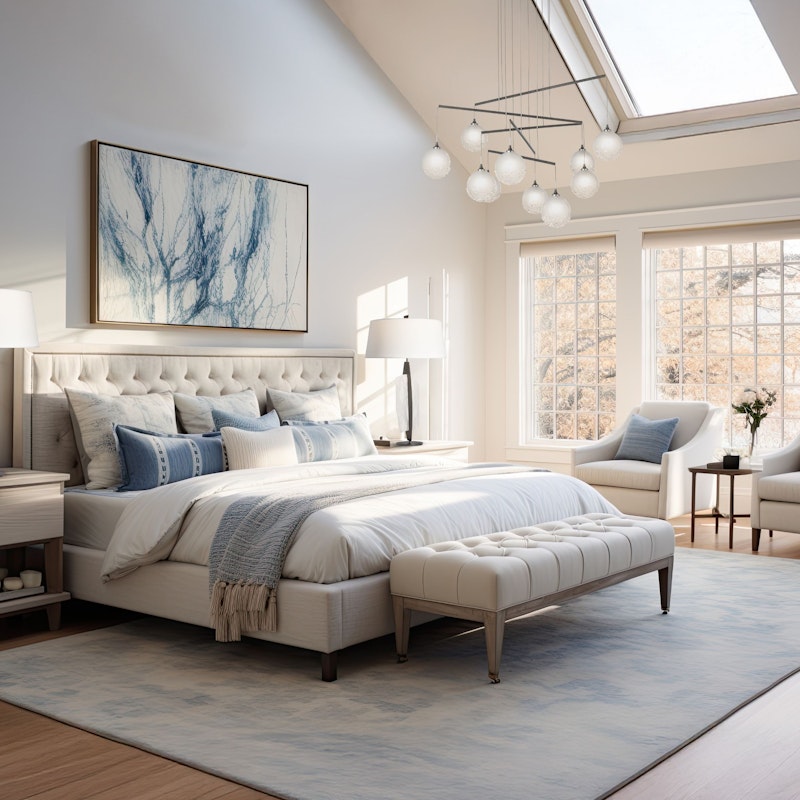
Fritz Multi Light Pendant by Hubbardton Forge
Fixture Types That Work Best for Sloped Ceilings
When choosing ceiling lights for sloped ceilings, the best lighting for cathedral ceilings includes:
- Chandeliers for vaulted ceilings fill vertical space beautifully and give the eye a focal point—especially in great rooms, foyers, and dining rooms.
- Pendant lights for sloped ceilings are a favorite for kitchens and casual dining areas because they’re both functional and decorative.
- Wall sconces help pull light down and add a warm, flattering layer that makes a room with vaulted ceilings feel welcoming.
- Semi-flush mounts are great for vaulted ceilings. They adjust to ensure fixtures hang straight. Ensure the fixture mentions a “swivel,” “adjustable,” or “sloped ceiling compatible” canopy.
- Recessed lights that tilt and rotate, like gimbal and eyeball recessed lights, allow you to direct light downward instead of at an angle.
- Specially designed sloped-ceiling recessed housings, complete with angled trim apertures, make light flush with the ceiling. Again, this directs light downwards.
- To illuminate angled beams, track lighting is an optimal choice. This approach provides flexible, adjustable illumination for targeting specific areas, such as worktops or art.
How To Choose the Right Size and Hanging Length
When choosing fixtures, the first consideration is sizing.
To select the right size for your space, focus on the proportion to height. Taller ceilings require larger or longer fixtures to maintain visual balance. Although not strict, especially when adding multiple lighting fixtures, a general rule is to add the room’s length and width in feet, then convert the sum to inches for the fixture diameter.
For example, a room that is 10′ x 12′ would benefit from a 22″ wide fixture, such as a chandelier. However, you must also account for the height of the ceiling. In two-story layouts that are 20+ feet high, chandeliers should be 36″ to 60″ in diameter, depending on the room size.
Related: What is the Proper Chandelier Height for 20 Foot Ceilings?
For recessed lighting, place lights 4′ to 6′ apart to avoid dark spots and ideally 3′ from walls to minimize dramatic, angled shadows. Optimal spacing will depend on your space and the room’s ceiling height. For example, to achieve even coverage, position recessed lights approximately half the ceiling height apart. If your ceiling height is 12′, then place lights 6′ apart.
For height, maintain a 7-7.5′ clearance, especially in high-traffic areas. In standard 8-foot rooms, this is known as the 7-foot rule. However, for ceilings over 8′, reduce the hanging length by approximately 3″ for every additional foot of ceiling height. For example, if you have 12′ high ceilings, the base of your fixture would be 8 feet from the floor instead of the standard 7 feet.
Aside from this best practice rule, if possible, hang fixtures at a height that avoids obstructing views.
Additional Size and Height Considerations
- Always consider the weight and support of your fixture during installation. Ensure the electrical box is rated for the weight of the fixture and supports a sloped ceiling angle.
- If you are selecting lighting for a large, open-concept room, larger fixtures are best. Although these layouts make a home feel larger, if you do not select fixtures that are large enough, a room can feel empty.
- In some cases, you may need to hang fixtures at various heights. This approach is best when you have a multi-light setup, often designed for large areas. For example, multiple pendants with varied drop heights can create a uniform, balanced look.
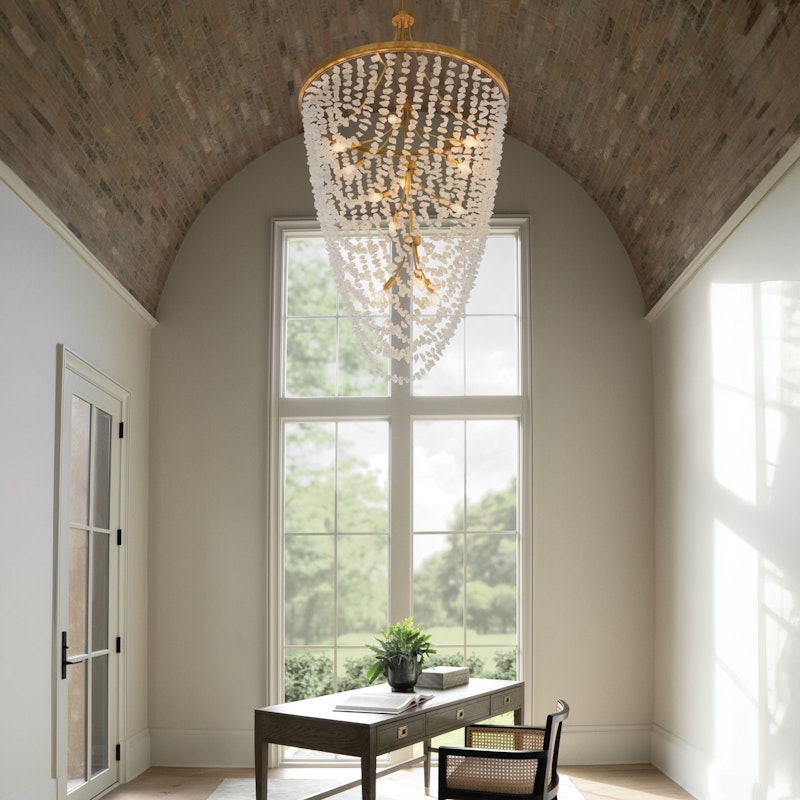
Myra 35 Inch Chandelier by Fredrick Ramond
Positioning Lights To Avoid Shadows and Dark Spots
If you’ve ever felt like a vaulted room is bright in the center but moody in the corners, that’s a placement problem—not a décor problem.
When positioning your lights, begin your layout at the ridge (your ceiling peak). Add lights at equal distances on each side of the ridge to maintain symmetry. These lights should have a directional focus, which is why gimbal lights are a popular choice. This lighting can be directed to avoid dark corners. These fixtures also help you direct light where it’s needed, such as kitchen counters or seating areas, rather than letting it scatter blindly.
Place lights roughly 3′ away from walls to minimize harsh shadows — unless you are trying to wash the wall with light. To reduce dark spots at the highest points, add LED strips or linear lighting on top of beams or in coves to bounce light off the ceiling.
While optimal positioning is crucial, effectively lighting a vaulted ceiling requires a combination of layered, adjustable fixtures and strategic placement. In many cases, the best approach is to use adjustable, slope-rated recessed lights paired with high-mounted accent lighting. This strategy allows you to select fixtures that match your style while illuminating the ceiling. In addition to recessed lighting, pendants, and chandeliers, include floor lamps to layer lighting effectively.
Layering Ambient, Task, and Accent Lighting in Tall Spaces
When lighting vault ceilings, you’ll want to take a layered approach that combines ambient, task, and accent lighting. This approach balances high vertical volume with scaled comfort.
For example, when choosing fixtures for ambient lighting, consider high-mounted chandeliers and large pendants. Use uplighting on beams to create a more dramatic ambiance. Hanging pendants and lamps are great for task lighting. For accent lighting, spotlights or wall sconces can accentuate structural, angled, or decorative details.
When it comes to layering, use this strategy:
- Start with your base layer, which is your ambient lighting. These fixtures fill the high space and prevent a cave effect.
- For your focused layer, or task lighting, place lighting at lower, functional levels.
- Last is your decorative layer, or accent lighting, which allows you to emphasize features.
To maximize control over a room’s mood, utilize dimmer switches on all circuits.
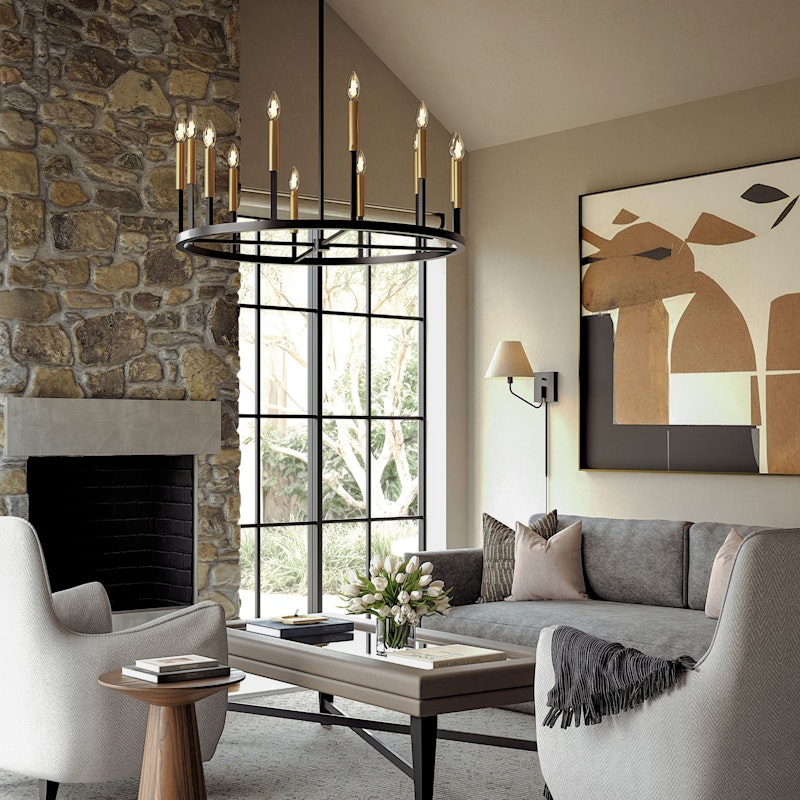
Davis 36 Inch Chandelier by Capital Lighting
Design Tips for Creating Balance in Rooms With Vaulted Ceilings
Creating balance in rooms with vaulted ceilings requires breaking up the massive vertical volume while bringing light down to enhance functionality.
Layering light is one of the go-to design strategies to achieve balanced lighting in rooms with vaulted ceilings. This strategy of combining ambient, task, and accent sources prevents the upper space from feeling dark and cavernous while keeping the lower living area warm, functional, and inviting.
On that note, here are some design tips:
- Don’t be afraid to go big: When selecting lighting for high ceilings, you want a large-scale, statement piece. Small fixtures get lost in high ceilings. Instead, opt for oversized chandeliers or pendants that serve as focal points and help fill the void. After you have considered scale and height, prioritize your style. In a modern home, you go for minimalist or geometric designs. In contrast, an ornate crystal chandelier may suit a more traditional home. It’s best to err on the side of slightly too big rather than too small.
- Consider uplighting: When you want to wash a room with soft lighting, use scones or LED strips. You can direct these lighting elements toward the ceiling to highlight the architectural height.
- Create visual low points: In addition to focal points up high, such as your chandelier, add bookshelves, large artwork, or tall plants below to draw attention to the human level.
- Add architectural detail: Install beams or ceiling planks to add texture, warmth, and visual interest.
- Avoid over-lighting: Plan carefully so that you do not have too many or overly bright fixtures. This mistake can result in a room that feels clinical rather than warm and inviting. However, this strategy will depend on the room’s purpose.
- Choose your colors wisely: Paint the ceiling white, cream, or light pastels to maximize reflected light and make the room feel larger. For a seamless look, paint your walls the same color. If you want to create a moodier, more intimate feel, use a darker color palette.
Get Started With Lighting for Vaulted Ceilings
Lighting for vaulted ceilings requires a strategic approach. You must balance dramatic vertical areas with functional, comfortable illumination. When creating your design, focus on scale and proportion, light layering, and installation considerations.
Seeking advice when designing lighting for low ceilings, too? Be sure to check out this guide to maximize brightness in compact spaces.